Plinth
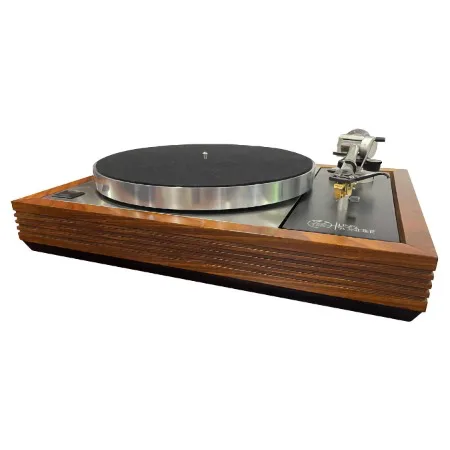
The original LP12 plinth was made from Afromosia. Afromosia is a large tropical tree of the forests of Central and West Africa and is now endangered. Modern Linn plinths are available in a variety of hard-wood species such as birch, ash, cherry, and oak.

In recent years Linn has also introduced painted plinth options. A variety of aftermarket plinths are also available to suit every taste. Early plinths were made up of a simple construction and later plinths feature corner bracing to strengthen the frame. Note though that this turned out only to assist frames that were pulling apart in the corners. If your plinth is perfectly intact, adding bracing will not yield any sonic improvement. Just leave it the way it is. Better results can be obrtained by replacing the base cover with a stronger metal solution.
The quality of the wood is exceptional and really easy to take care of. Since the wood can dry out quickly, one method of looking after it is to wipe it with a sponge and some teak oil. Not only does the teak oil bring out the natural colours of the wood, but the sponge also fills the slots cut into the wood, ensuring the recesses are oiled, while also removing dust.
Lid
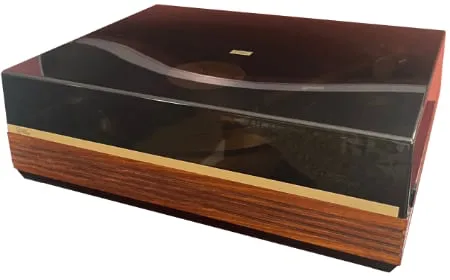
Ask just about any turntable owner, and they will tell their turntable's lid is the achilles of the turntable. Not only is it a boombox that catches vibrations, but most are prone to scuffing. I have an earlier LP12 and so I still have the smoked lid, that does not show marks, scratches, and fingerprints so easily. The same applies to the lids of the two Rega Planar 3 turntables I used to own.

The clear lid though is a real pain. Not only is it extremely prone to finger prints, especially on the sides, but it also scratches very easily. Even a light scratch remains forever. I know there are YouTube videos that show how to refurbish a really bad lid, but it is way too much trouble. A fellow LP12 owner asked me for some advice how to clean the lid. This is my recommendation:
- To clean it, use only a small drop of dishwashing liquid and barely luke warm water.
- First remove the lid's brackets – you do not want water near them.
- Clean the lid over the kitchen sink. Doing it in a bath is probably better, and use a really soft cloth to gently wash off marks – never one of the sponges we have in our kitchens.
- Use a spray to wash off any soap, or rinse it under a tap.
- Place the lid upside down on a large, soft bathroom towel. Dry the lid by gently pressing the towel on the lid. Ensure no water remains in the corners.
- Reattach the brackets, and double check that there is no trace of water before you put it back on the turntable.
Sometimes I wish I could get a clear lid as it shows off the turntable far better when the the lid is closed, but it is hideously expensive, even if you have an after-market lid made.